

Start Plan (1 of 3): buying and activation
Published: 2026-07-26 Last updated: 2026-08-03
What the plan grants, what you need before buying, how to order and pay, and why uploading proof does not activate the plan on its own.
Start Plan is a light monthly subscription for a customer who wants a clean first setup: link one MikroTik router through KWSM, then use that link to add the router in Karcsham Fi and manage hotspot cards from a browser or phone.
Check the current price on the Start Plan product page before paying, because the product page is the source of truth for current pricing.
Current grants included
Each monthly subscription period currently includes:
- Karcsham Fi: manage up to 10 routers.
- Karcsham Fi: generate up to 200 vouchers.
- Karcsham Fi: 5 root batch purge runs.
- Karcsham Fi: bulk voucher generation.
- KWSM: one VPN router.
These are system operating limits. The KWSM address you later use inside KF is a tunnel/operational address for the router; it is not a public dedicated IP and it does not grant extra access beyond what the plan includes.

Before you buy
Confirm these requirements first:
- You have a MikroTik router running RouterOS v7. This workflow is not suitable for RouterOS v6 because the KWSM router link here depends on WireGuard in RouterOS v7.
- You have administrator access to the router and can open Terminal or New Terminal through WinBox, WebFig, or the MikroTik app.
- The router has internet access and can reach the KWSM server.
- You have a KARCSHAM Central account and can access the store and connected applications.
- On a computer, download official MikroTik WinBox.
- On a phone, download the MikroTik app on the App Store or MikroTik Pro on Google Play.
- If you need to run a WireGuard tunnel from a phone or computer, use the official WireGuard install page.
- If the router is on RouterOS v6, review the official MikroTik guide for upgrading to v7 before continuing.
You can check the RouterOS version from System then Resources, or from Terminal with /system/resource/print. Do not run a KWSM script on a device when you do not know its version or do not have permission to administer it.
Buy the plan from Central
- Sign in to KARCSHAM Central.
- Open the store, then Start Plan.
- Read the grants and plan limits, and confirm that your MikroTik router runs RouterOS v7.
- Add the plan to the cart and complete the order and payment using the method shown on the site.
- After the order is approved and the subscription is active, the plan permissions will appear in connected systems after synchronization.
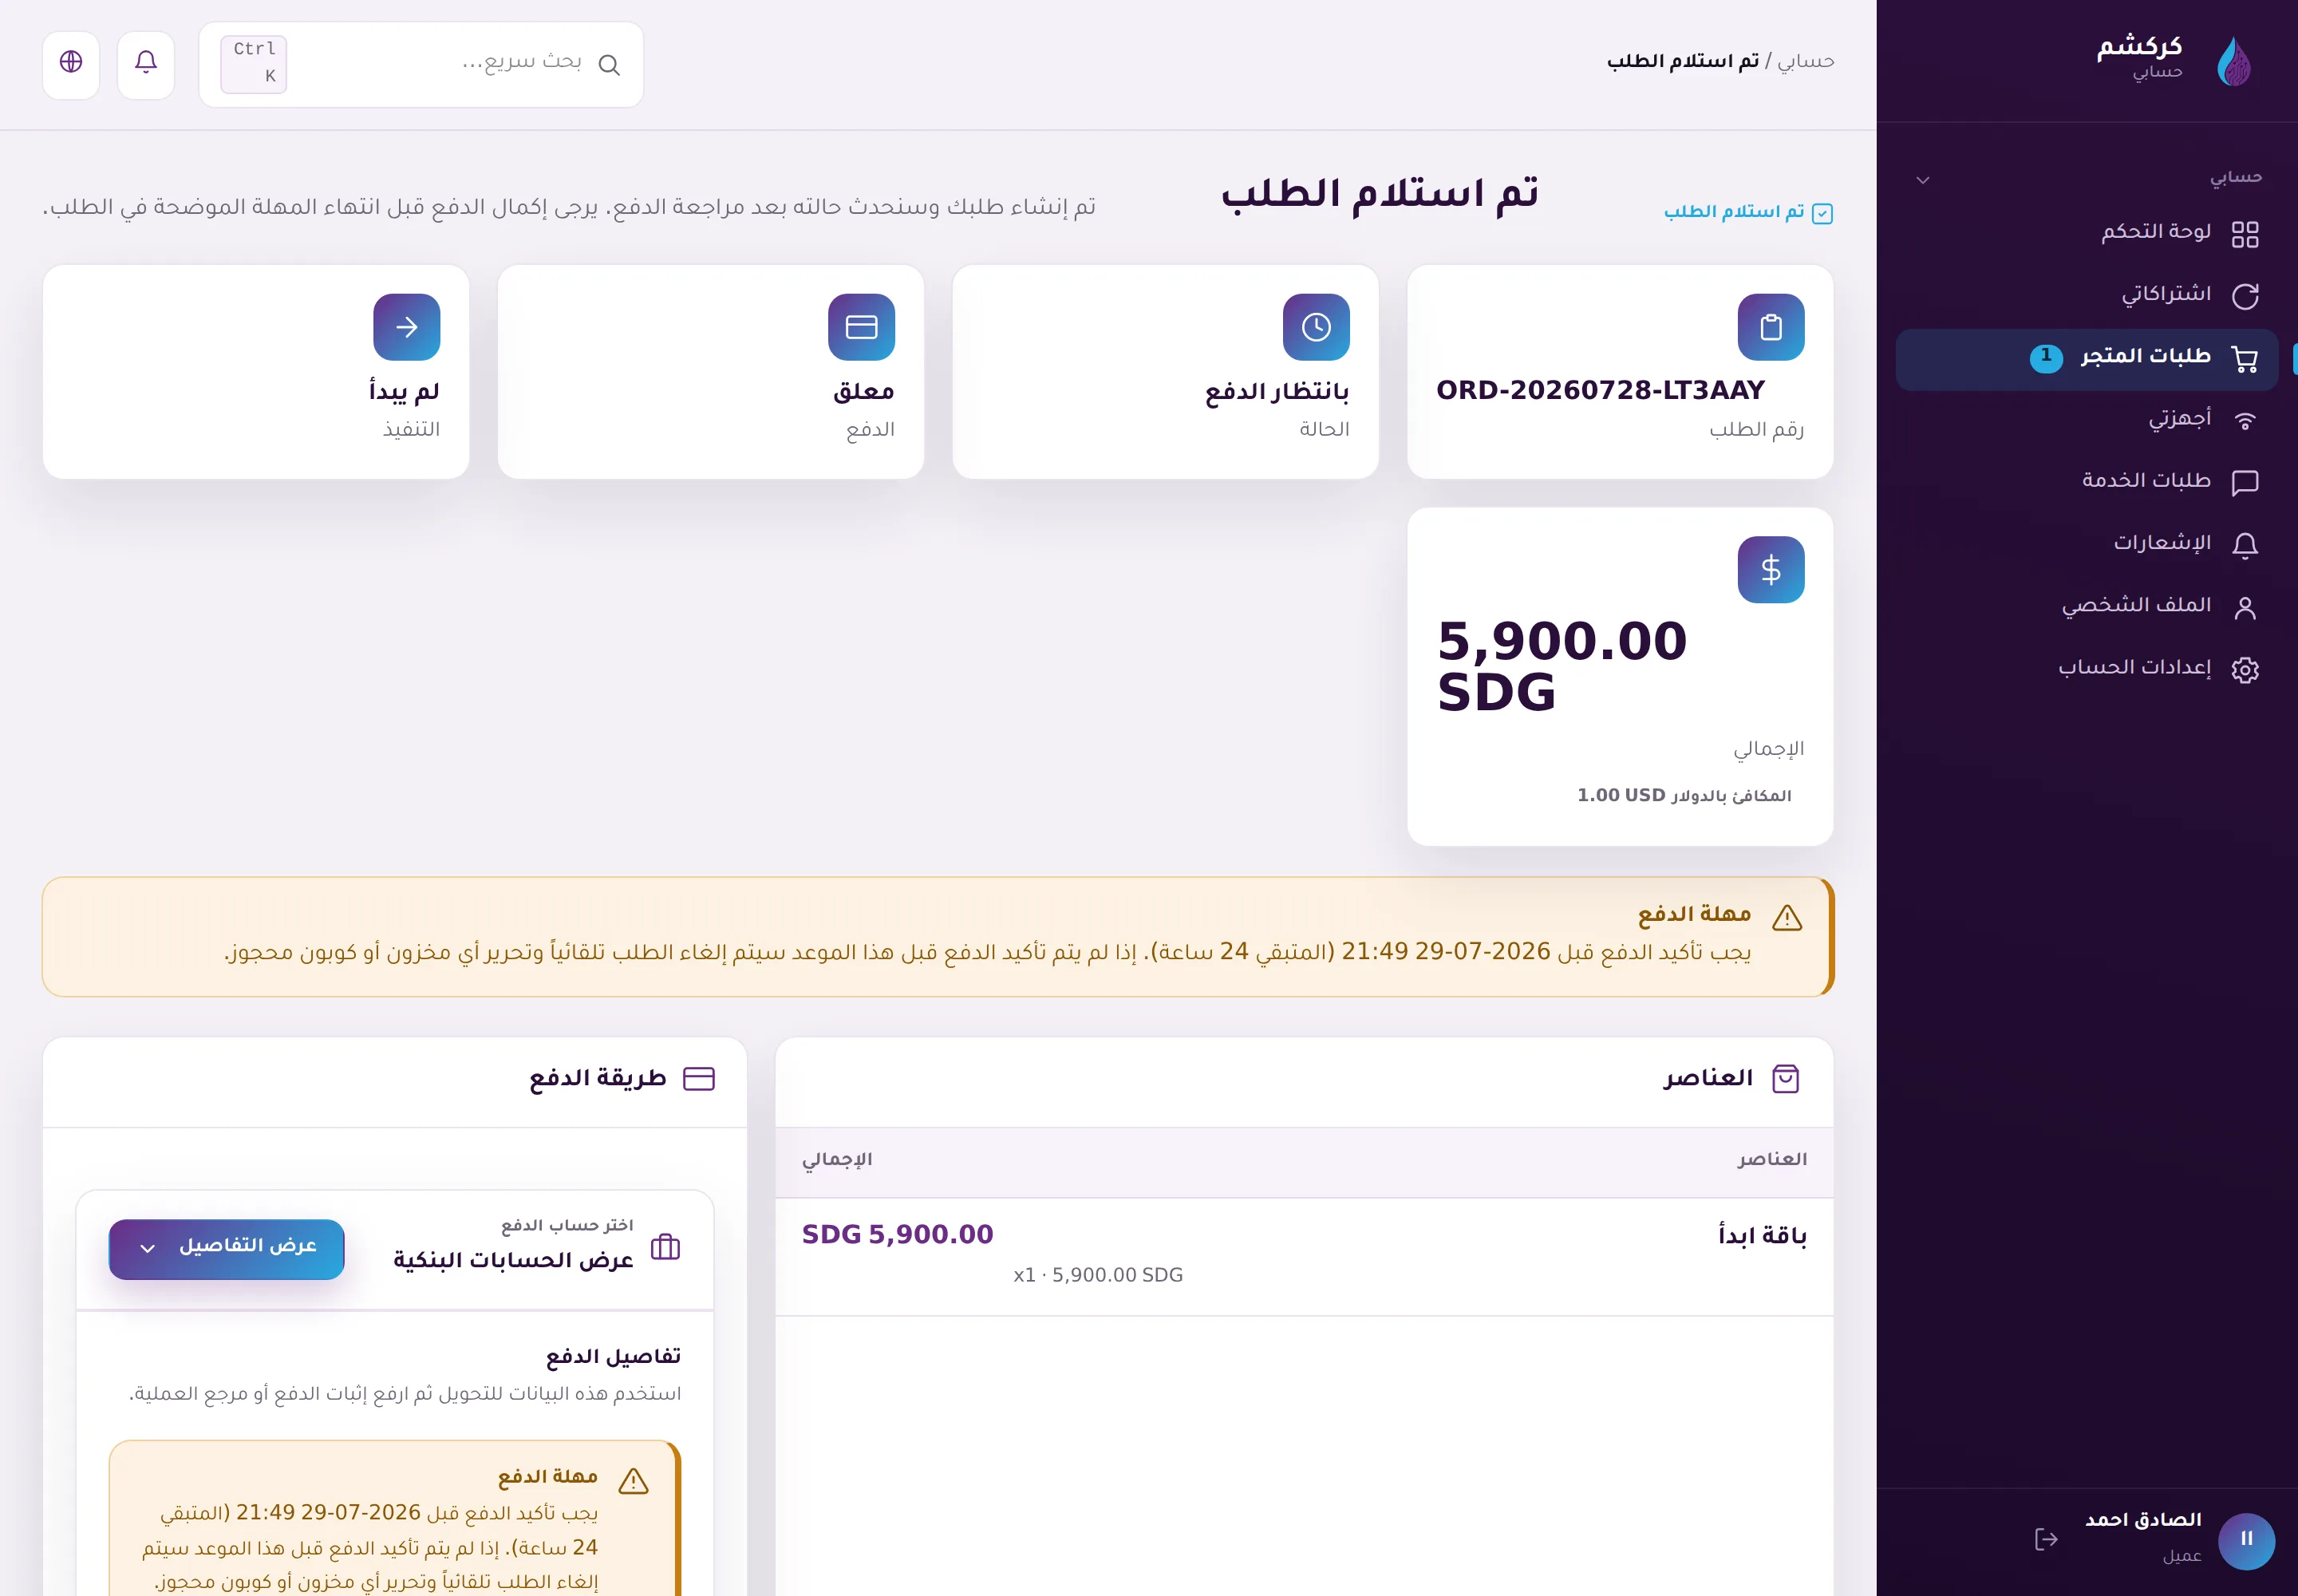
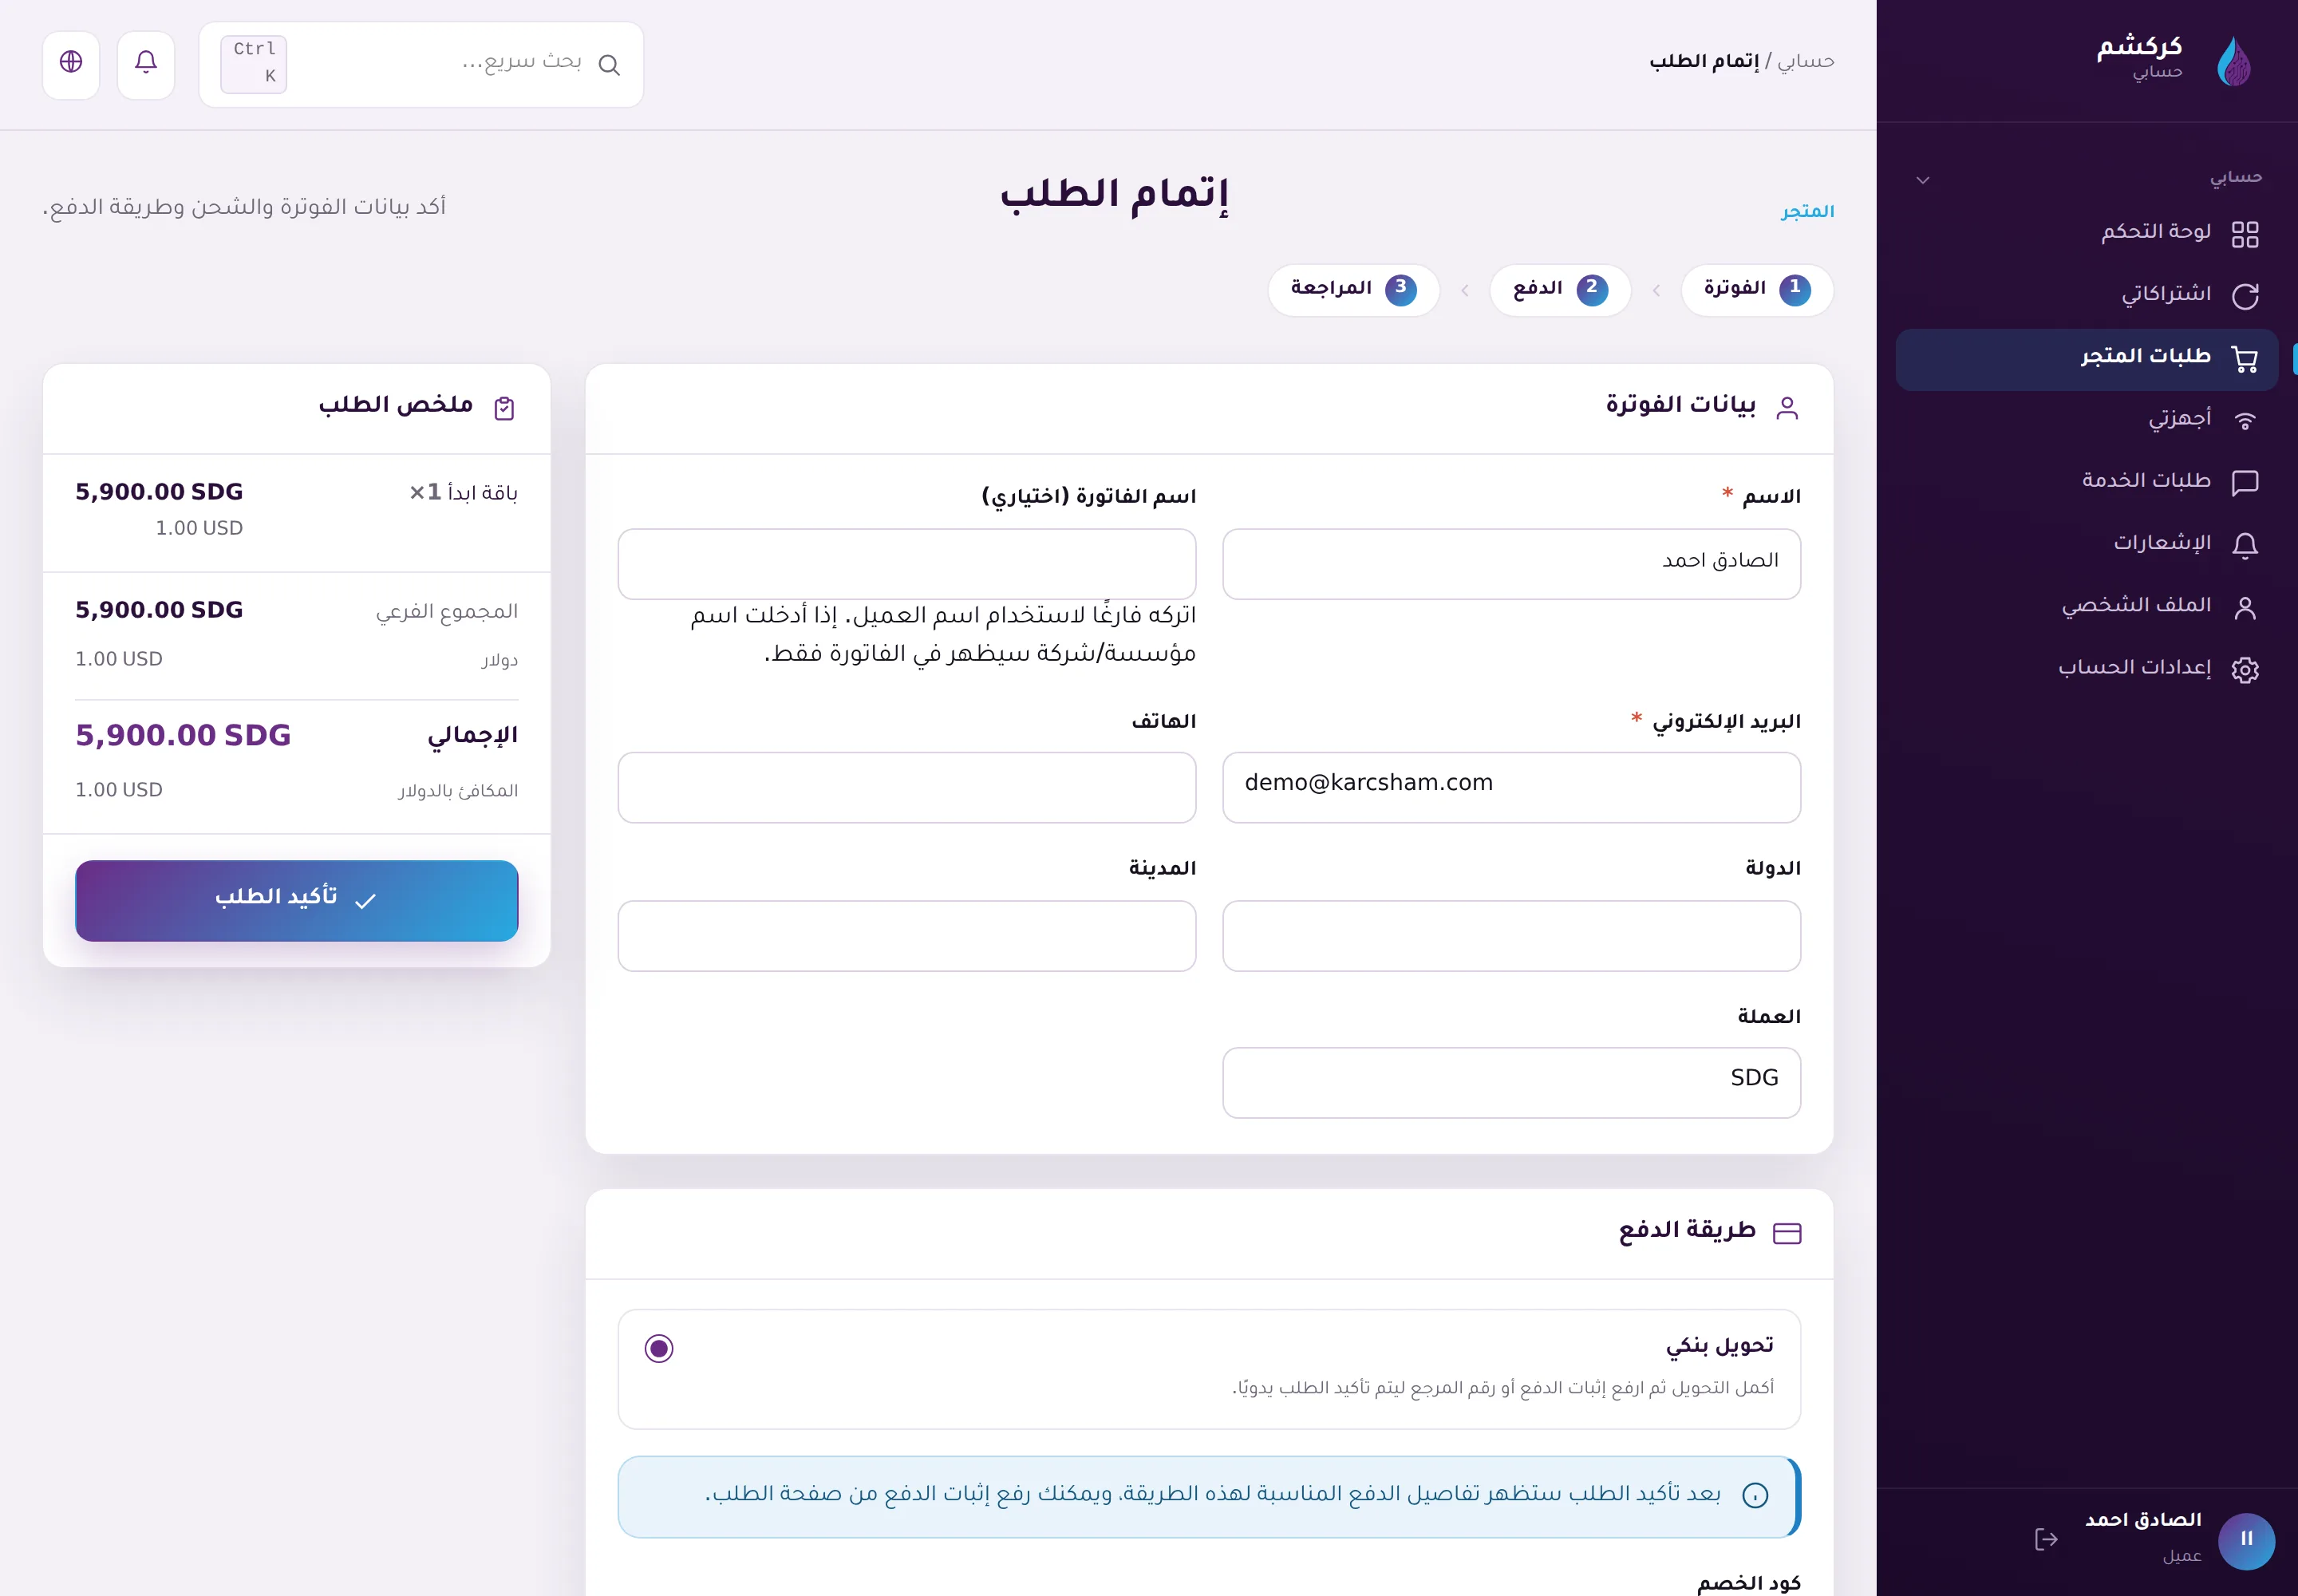
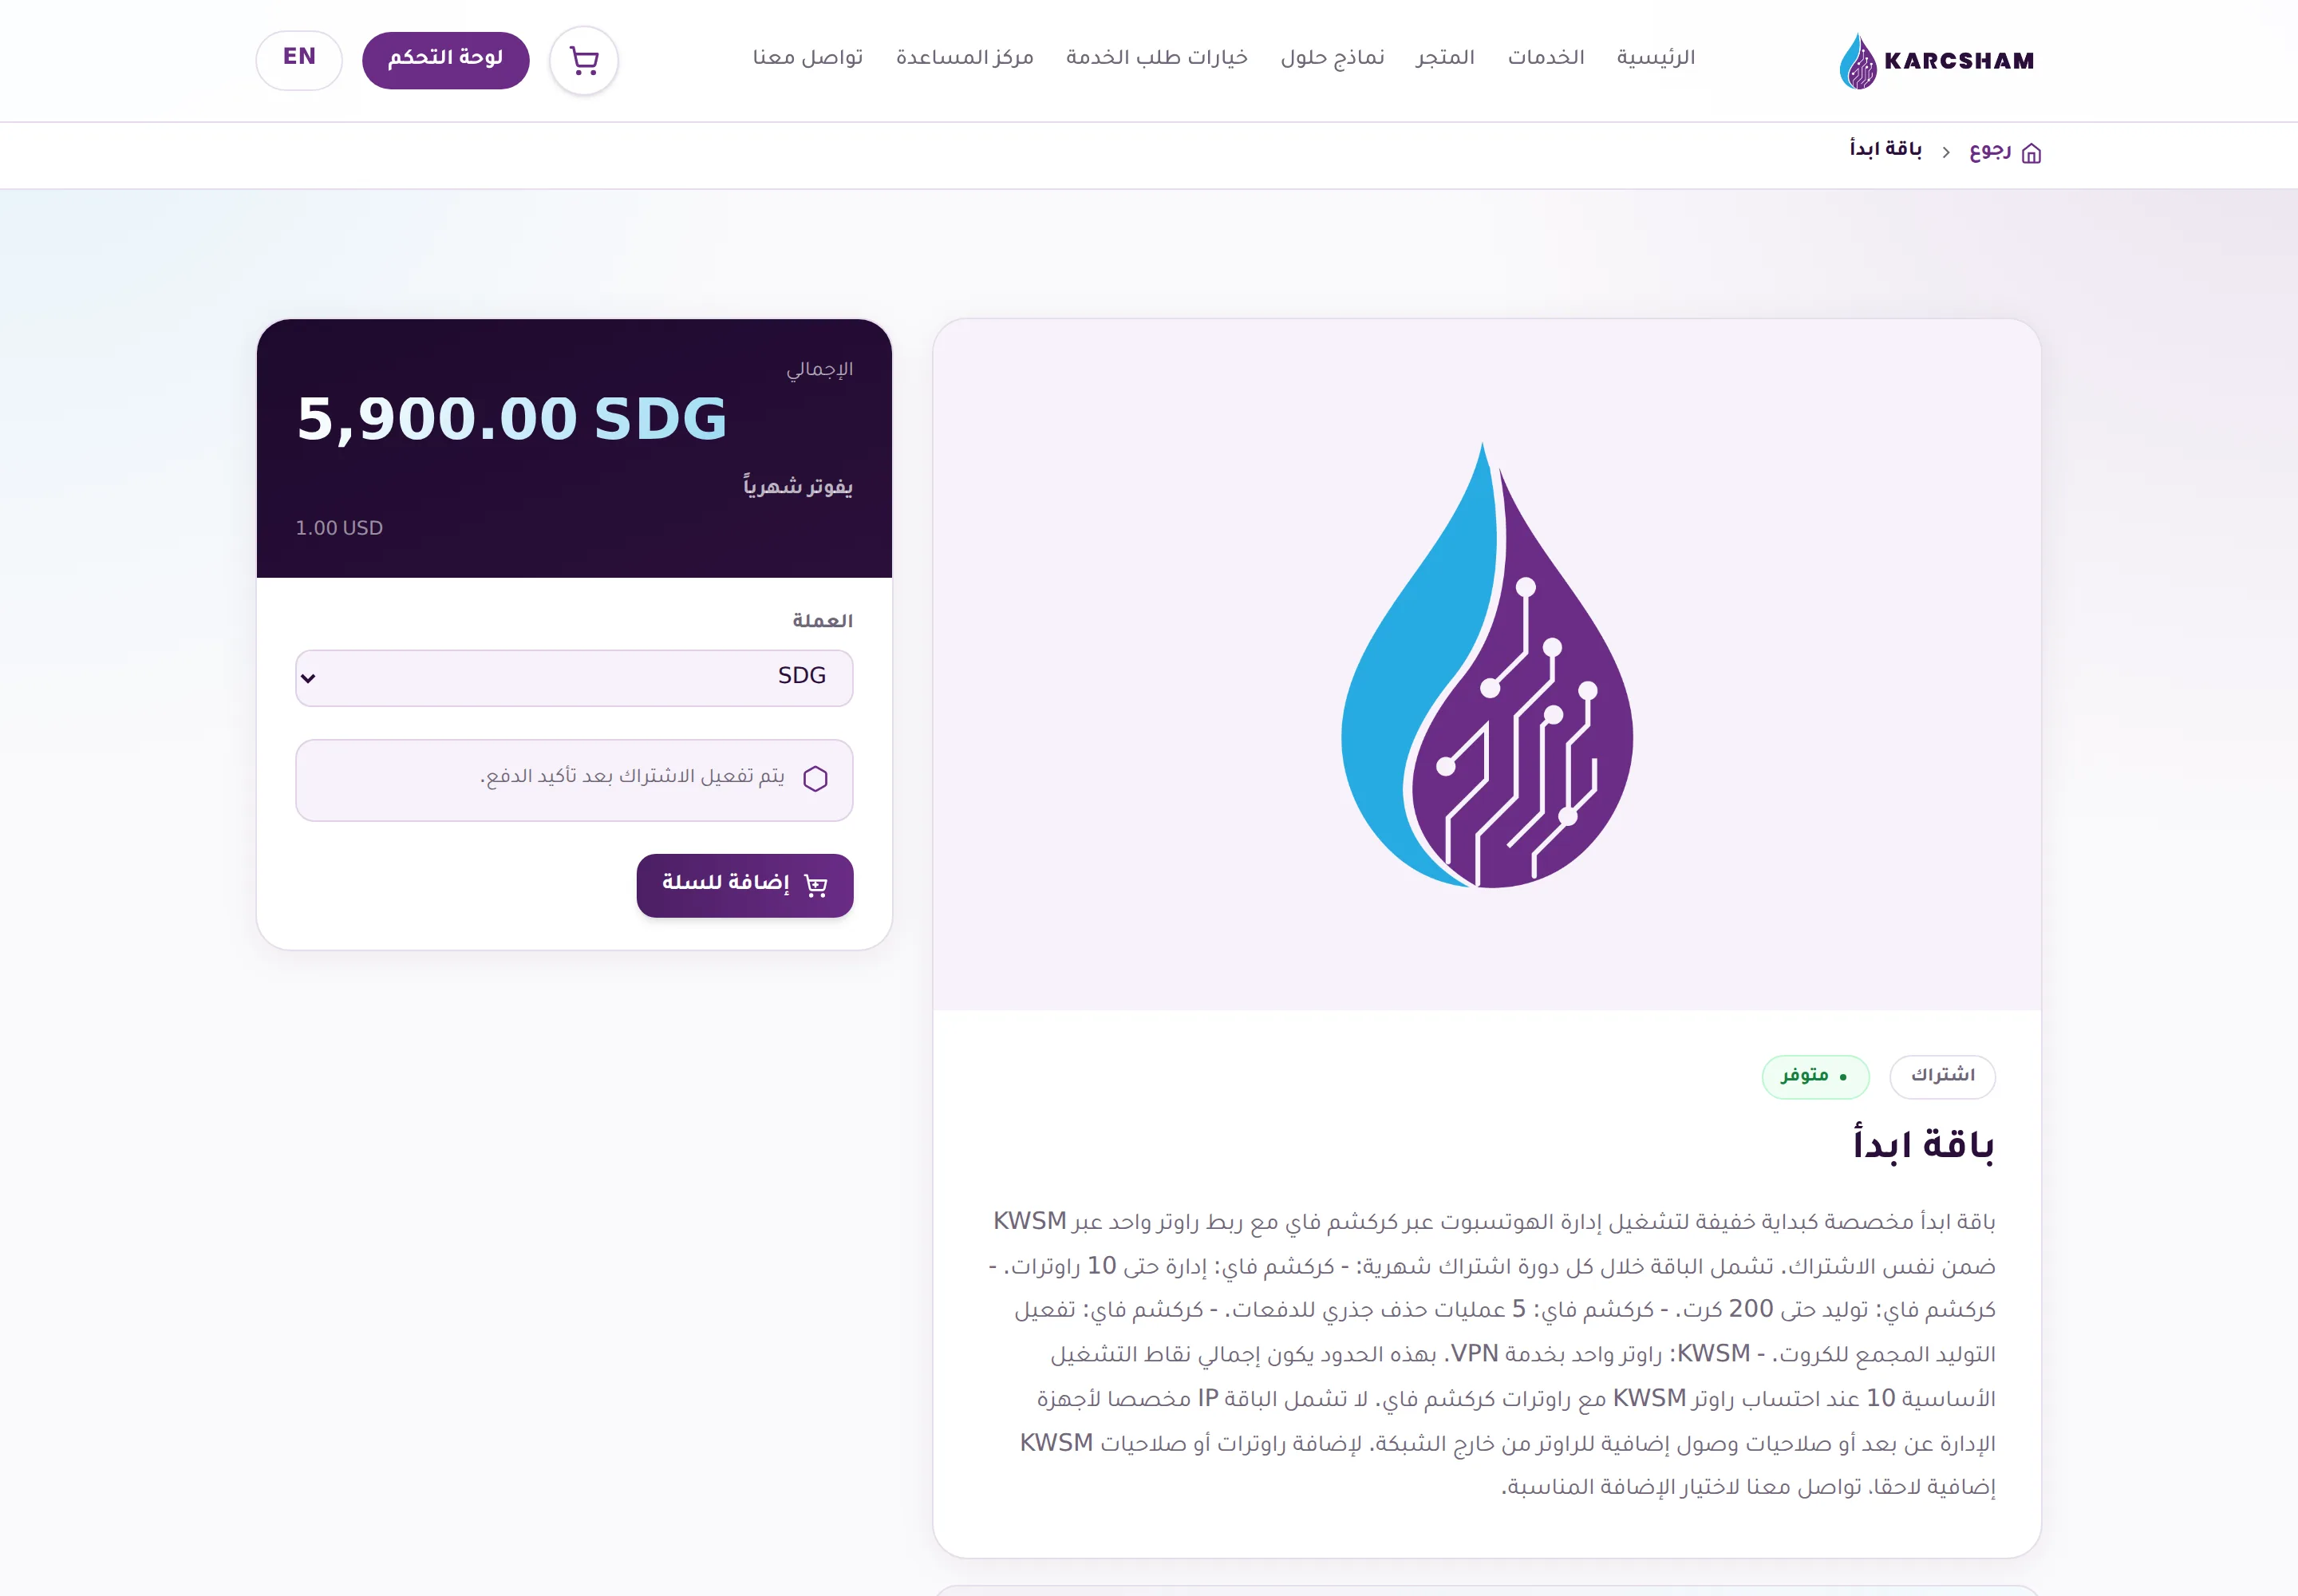
If payment or approval is still pending, do not start router setup until the subscription is active or the support team guides you.

Uploading proof does not activate the plan
Uploading payment proof is required, but it does not activate the plan on its own. After you upload, the order moves to awaiting review: the Karcsham team checks the receipt by hand and matches the amount and reference before approving the payment.
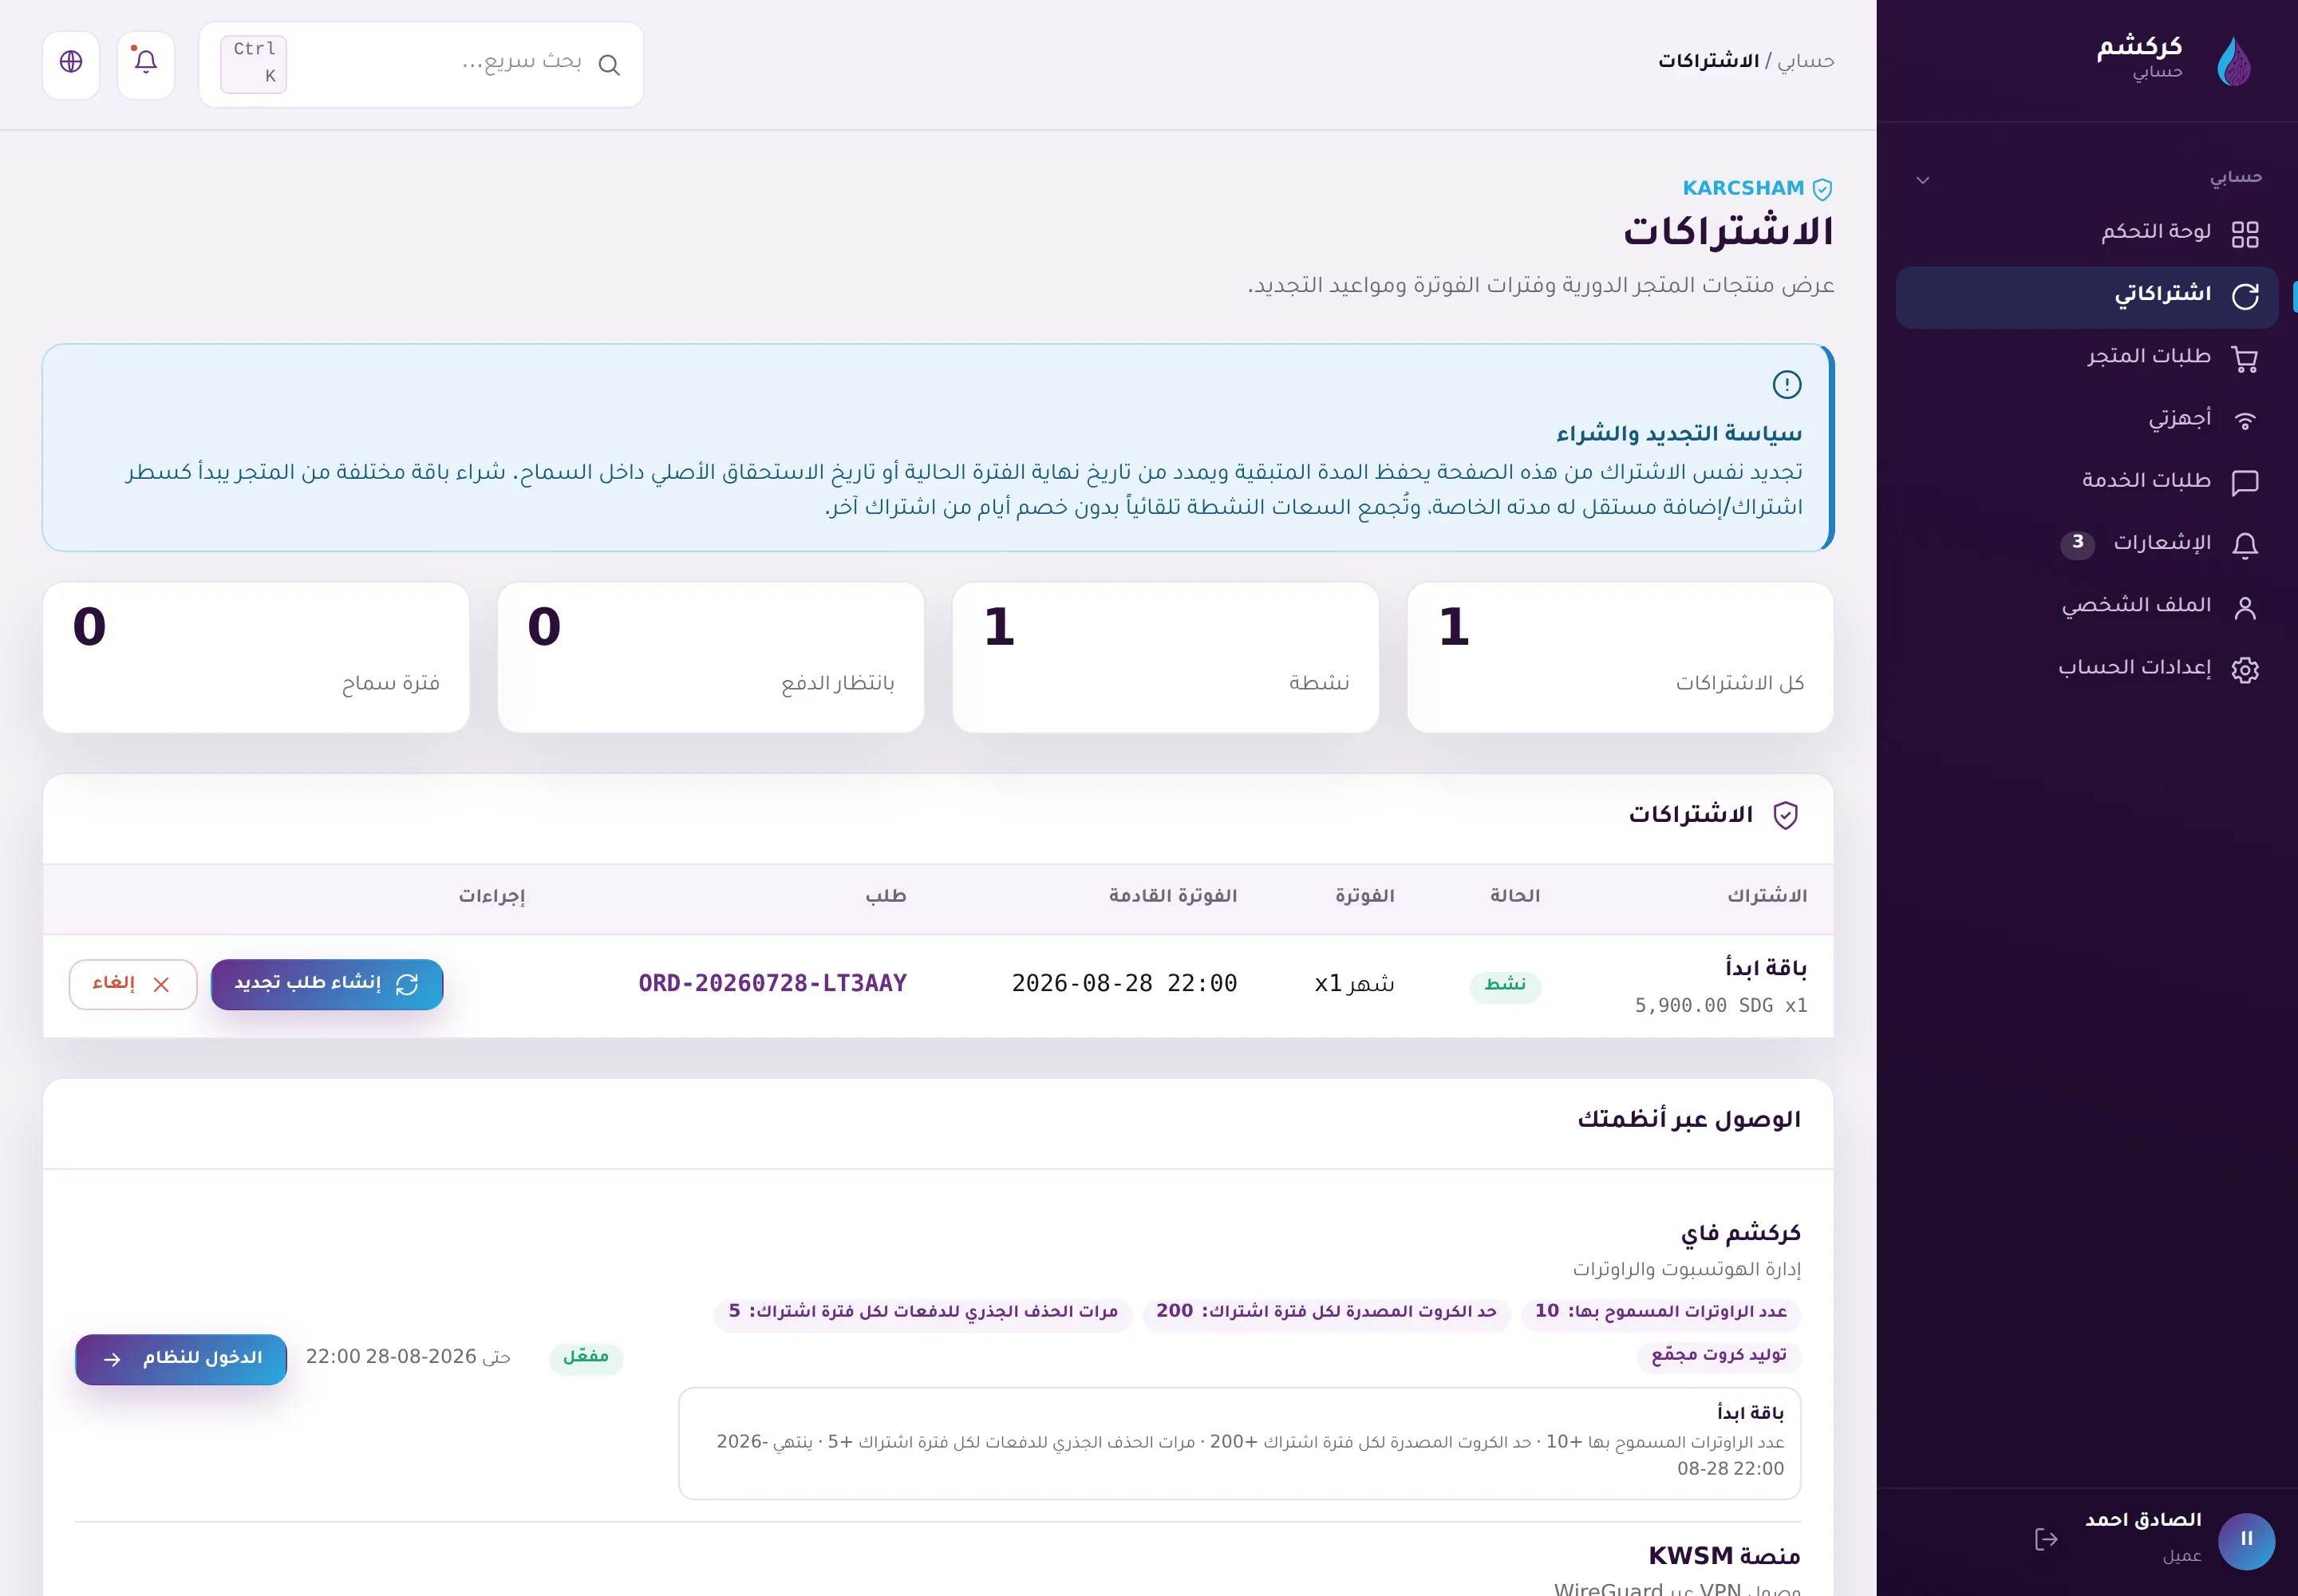
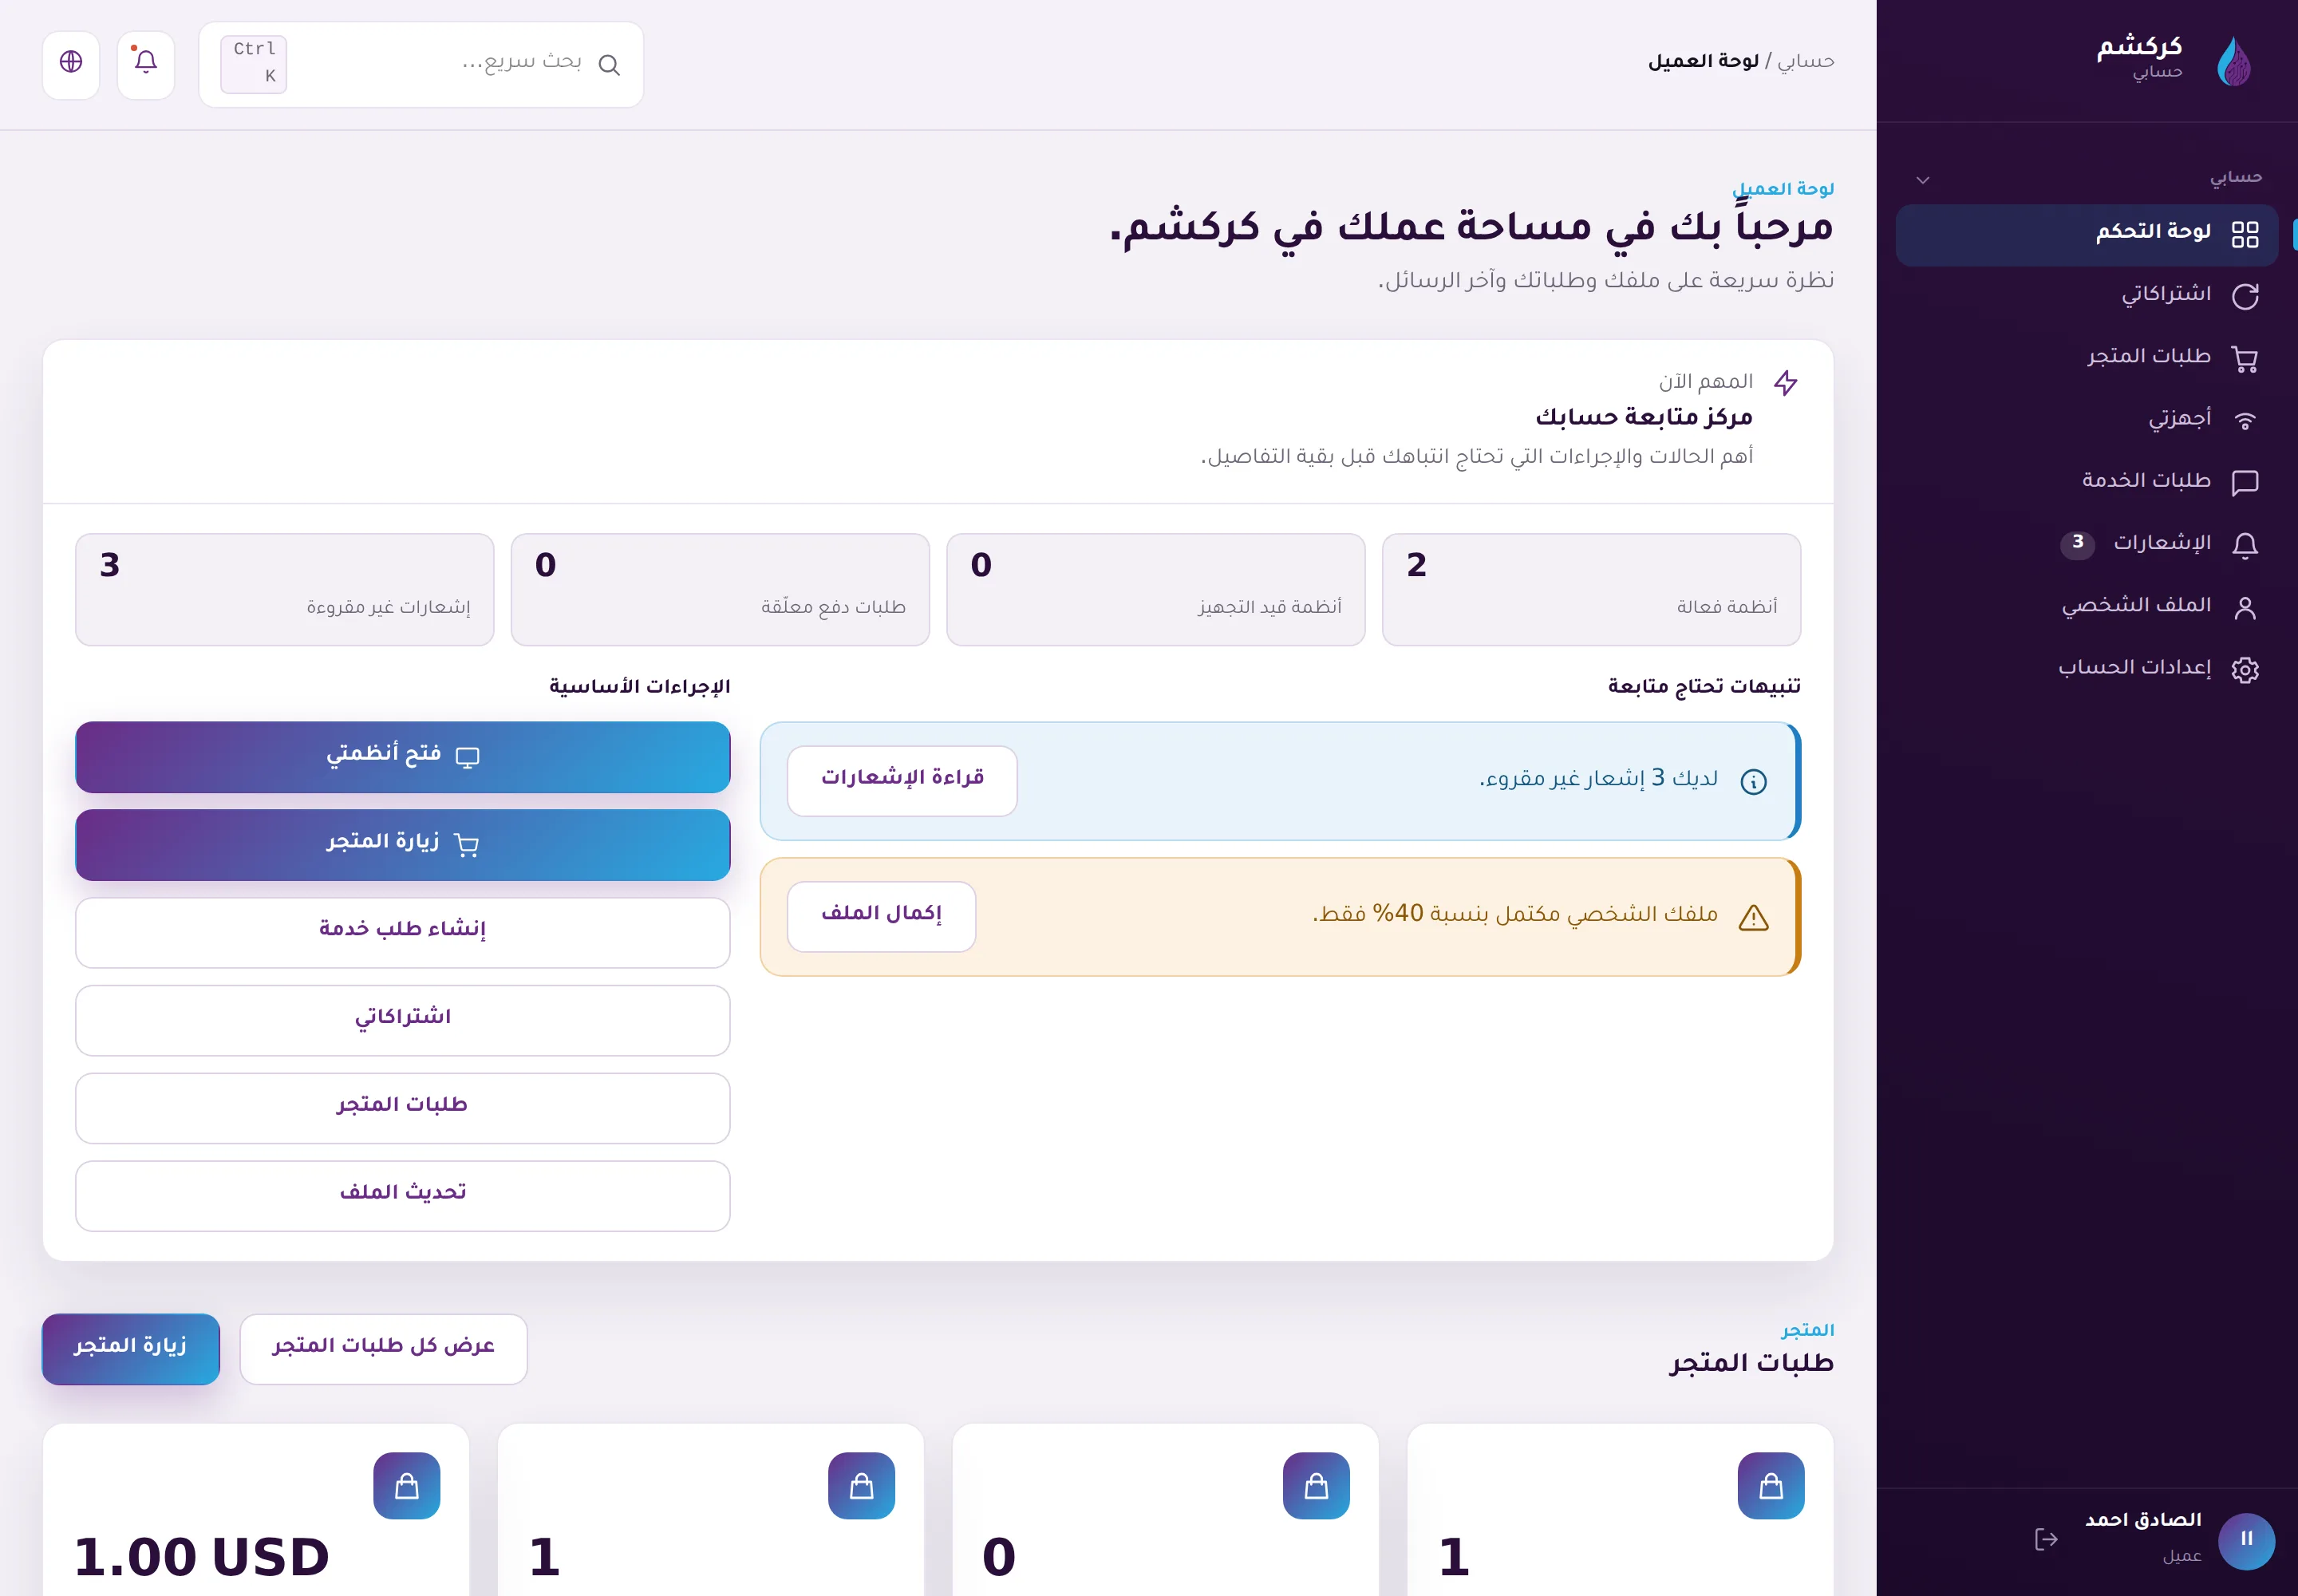
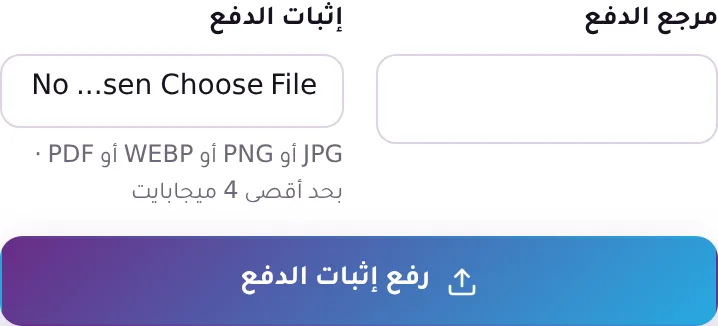
This means:
- The subscription starts when the payment is approved, not the moment you upload.
- Plan grants will not appear inside the connected systems before then, and you cannot set the router up yet.
- If the receipt is unclear or the amount does not match, the payment can be rejected. You will be notified, and you can upload a new proof from the same order page.
- Watch the order state from the store orders page, which always shows where the order stands.
Do not send proof more than once for the same transfer unless the team asks you to.
Next
Once the subscription shows as active, continue to preparing your MikroTik router in KWSM.